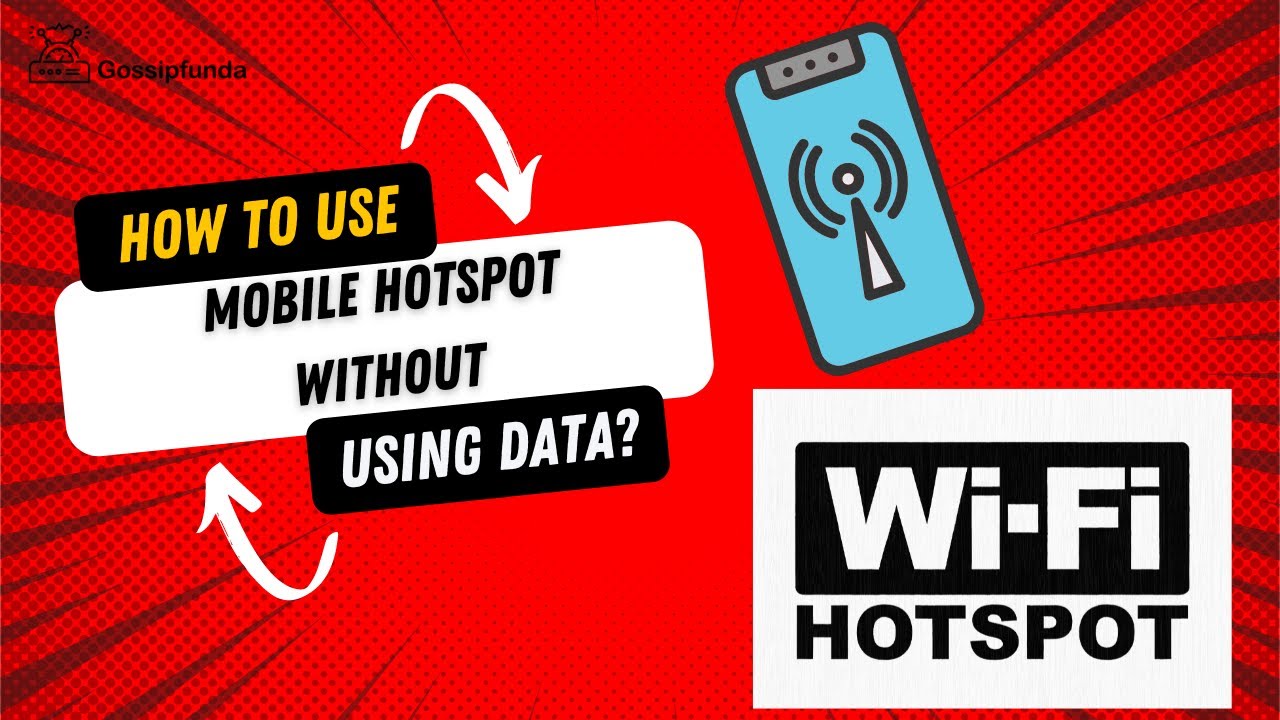
How to use mobile hotspot without using data?
A mobile hotspot is a portable device that allows users to connect their devices to a Wi-Fi network. A mobile hotspot can be used for a variety of purposes. It can be used to share an internet connection with other people who may be using a laptop or smartphone. It can also be used as a modem to connect to the internet. There are a variety of types of mobile hotspots available in the market. They vary in size, features, and price.
Mobile hotspots are a very convenient way to connect to the internet while you’re on the go. With a mobile hotspot, you can share your mobile internet connection with other devices, including laptops, tablets, and smartphones. While there are a lot of mobile hotspot options available in the market, we’ll be focusing on the most popular ones that are readily available in the market.
Ways to use a mobile hotspot without using data
A hotspot usually uses the cellular signal of your phone (mobile network). That means your phone has to connect to a cell tower. So, if you need to connect to a hotspot that requires Wi-Fi, you’ll need to sign out of your current mobile network. The most common way to do this is by pressing the “Home” button, selecting “Settings”, scrolling down, and turning off “Mobile data”.
Sometimes you may not want to disconnect from your current mobile network, however. One of the better alternatives is to use one of the apps listed below that allow you to connect without disconnecting from your current mobile network.
For those that need to stay connected to the internet, here are some of the best apps you can download:
1) Wifi Toggle
Wifi Toggle is an app that will toggle between using your mobile data or connecting via wifi. It’s available for both Android and iPhone.
2) Google Wifi
Google Wifi is a similar app. It also allows you to toggle between using data or WiFi. You can sign in with your Google account, or you can create a free account.
3) TetherMe
TetherMe is another option. You can use it as a hotspot, as a data provider, or as a mobile modem. It supports both Android and iOS devices. You can use it without signing out of your current mobile network.
4) Hotspot Shield
Hotspot Shield is another app you can use to connect to a hotspot without having to sign out of your current mobile network. It also offers mobile VPN protection and ad blocking. You can sign in with your Facebook account, or you can create a free account.
5) NoMoreRouter
If you’re looking for a hotspot that doesn’t require a lot of setups, or if you just need to stay connected while traveling, NoMoreRouter is a good option. You can connect to hotspots without signing out of your current mobile network, and you can also connect to the internet via your mobile data. It works with both Android and iPhone.
6) Wifi Calling
Wifi calling is a feature offered by many carriers. It lets you make calls from your mobile hotspot, over your phone’s data connection. You can set up your mobile phone to work as a caller.
Also Read. What is the difference between mac and windows?
1) Using WiFi calling on Android devices
As the number of mobile phone users increases, the amount of internet available for the phone user also increases. Unfortunately, there are still certain limitations to the internet we can access through our phones, which include the fact that we need to pay for data, that we can only access websites that are provided by the mobile network operator, that the internet cannot be accessed by us in places where there is no mobile data coverage.
However, there is an alternative to all this. If you use WiFi calling on your android device, you can get the benefits of the mobile network operator’s network, but the internet does not count against your data usage.
2) Using WiFi calling on iOS devices
With the release of iOS 9, Apple released a new feature called WiFi calling, which allows you to use your phone’s WiFi capabilities to connect to a WiFi network. This means you can get the internet without paying any additional fees to your provider.
3) Using WiFi calling on Windows Phone devices
Windows Phone 7 has had WiFi calling for years, however, Windows 10 has brought some new features to the table, including the ability to access the internet from WiFi networks even if the WiFi network is password protected. This means you can access the internet without paying any additional fees to your provider.
4) Using WiFi calling on BlackBerry devices
BlackBerry devices have always been capable of accessing the internet over WiFi, but now with the release of the latest version, BlackBerry OS 10, the devices can even access password-protected WiFi networks.
5) Using WiFi calling on Nokia devices
Nokia devices can use WiFi calling to connect to WiFi networks, but it requires the use of the Nokia Connectivity Suite to use the feature. This will cost you, but it will provide you with the ability to connect to WiFi networks without paying extra fees to your provider.
6) Using WiFi calling on Blackberry devices
BlackBerry devices have always been capable of accessing the internet over WiFi, but now with the release of the latest version, Blackberry OS 10, the devices can even access password-protected WiFi networks.
Does the hotspot use Wi-Fi or data?
Hotspots usually use Wi-Fi for their free internet services. Many hotspots have a monthly fee and you can pay for Wi-Fi or data access. If you have your own laptop or smartphone, you can download applications that will allow you to use the hotspot’s Wi-Fi service. However, if you don’t have any equipment, then you will need to use their Wi-Fi service or pay for data service.
How do I use my mobile hotspot without subscribing?
There are many ways to use a mobile hotspot without subscribing. First, you can use the mobile hotspot with Wi-Fi-enabled phones. That means you need to buy a wireless phone that can use Wi-Fi to connect to the Internet. You can find them in the marketplace. You can also use a data plan with your mobile phone.
You don’t have to buy a data plan, but you will have to buy a mobile phone that has an international SIM card. You will need to pay for the subscription and data usage. After you have bought the wireless device and data plan, you can use the mobile hotspot without subscribing.
Can you use a hotspot without unlimited data?
This is a question that many people wonder about. The hotspot is usually free to use. If you do a lot of browsing, you may get charged for the data that you use. In that case, you need to get an unlimited data plan. This allows you to browse the internet as much as you want.
How can I share my hotspot without hotspot data?
There are two ways you can share your hotspot without having hotspot data. First, you can connect with someone by text message. In order to do that, you need to have a data connection. Then, you can send a text message asking the person you want to connect with to accept your hotspot request. If the person accepts your request, they will be able to connect with you and you will be able to share your hotspot with them.
The second way to share your hotspot without hotspot data is by sending the hotspot request through Facebook. Just go to the app called Hotspot Shield VPN, which is an online service. When you open this app, it will ask you whether you want to share your hotspot. You must select “yes”. Now, click on “share”, and choose your friends from your contacts list.
Conclusion!
In conclusion, To use a mobile hotspot without using data, there are two options for you: firstly, you can use Wi-Fi Calling on your smartphone. Secondly, if you have a laptop, you can connect it to a hotspot that does not consume data. The option that is best for you depends on your current situation and the device that you are using. Also, you can set your phone’s settings to automatically switch to mobile data when you’re at home.


 Business1 year ago
 Lifestyle2 years ago