
Tips & Tricks
Tips and Tricks for Using an Action Camera Flashlight


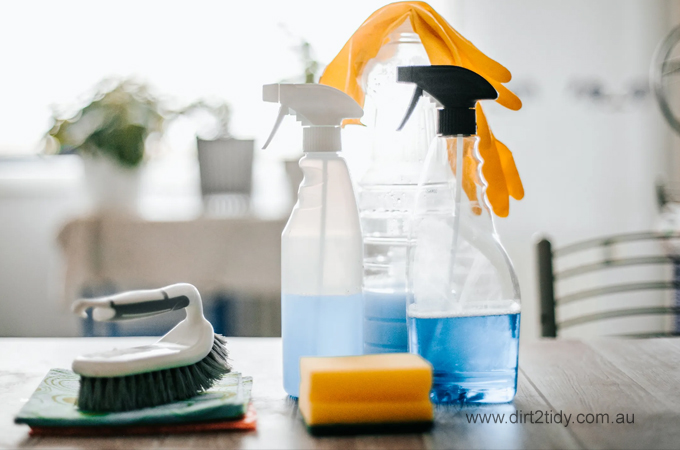
Ammonia is a popular household cleaner known for its ability to cut through grease and grime effectively. It is commonly found in glass cleaners, multi-surface cleaners, and floor cleaners. Ammonia is praised for its powerful cleaning properties and affordability, making it a staple in many households and commercial cleaning products.
However, while ammonia is undeniably effective, it is important to understand the potential risks associated with its use. When handling ammonia, safety measures must be implemented to protect both the individuals using the product and the surrounding environment.
As a professional cleaning company, Dirt2Tidy recognizes the importance of educating individuals about the safe and responsible use of cleaning products like ammonia. By understanding the risks and implementing proper safety measures, individuals can harness the cleaning power of ammonia while minimizing potential harm.
Understanding the Risks of Cleaning with Ammonia

While ammonia is a potent cleaning agent, it poses several risks that should not be overlooked. When using ammonia-based cleaners, the fumes emitted can cause respiratory irritation, especially in individuals with underlying respiratory conditions such as asthma. Additionally, ammonia should never be mixed with chlorine bleach, as this combination produces toxic chloramine gas.
Direct contact with concentrated ammonia can cause skin and eye irritation, emphasizing the need for protective gear when handling the product. Moreover, ammonia can be harmful if ingested, making it crucial to store cleaning products securely and out of reach of children and pets.
Understanding these risks is essential for ensuring safe cleaning practices. By recognizing the potential dangers of cleaning with ammonia, individuals can take proactive steps to mitigate these risks and safeguard their well-being.
Health Risks Associated With Ammonia Exposure
Ammonia, a powerful and versatile cleaning agent, is a staple in many household and industrial cleaning products. While effective in removing grime and stains, cleaning with ammonia dangers should not be overlooked. High-level exposure can lead to serious health issues. It is crucial to grasp the risks involved with ammonia use for a safer cleaning routine. Inhaling ammonia fumes can irritate the respiratory system, leading to coughing, wheezing, or even serious conditions like pulmonary edema in severe cases.
Ammonia is also a skin and eye irritant. Direct contact can cause burns, blisters, or dermatitis. The severity of these reactions often depends on the concentration of ammonia in the product and the duration of exposure. Another concern is accidental ingestion, which can be particularly hazardous for children and pets. Ingestion of ammonia can cause internal burns and may be life-threatening. It is imperative that ammonia-based cleaners are labelled clearly and stored securely to prevent accidental exposure, especially in homes with vulnerable individuals.
Certain populations, such as asthma sufferers or those with chronic lung conditions, may be more susceptible to the negative effects of ammonia. With this in mind, it is of utmost importance to understand and implement safety measures when handling ammonia-based cleaning products. This includes proper ventilation, wearing protective gear, and adhering to recommended dilution ratios. Employing such precautions will mitigate health risks and ensure a safer cleaning environment.
Environmental Impact of Ammonia in Cleaning
The use of ammonia extends beyond home cleaning into various industrial applications. However, there are environmental considerations to bear in mind when utilizing this substance. When released into the environment, especially in large quantities from industrial sources, ammonia can contribute to ecological imbalance. It participates in chemical reactions that lead to the formation of particulate matter—a pollutant known to have adverse effects on air quality and public health.
Moreover, ammonia can contaminate water sources through runoff. This infiltration into rivers, lakes, and groundwater can lead to eutrophication, a process resulting in excessive growth of algae and aquatic plants. This overgrowth depletes the oxygen level in water bodies, imperilling fish and other marine life. In terms of the soil, ammonia can alter its chemistry and nutrient balance, potentially hindering plant growth and affecting the flora’s biodiversity.
Amid this backdrop, the environmental stewardship of companies like Dirt2Tidy gains significance. The company’s commitment to eco-friendly practices is showcased through the use of environment-conscious cleaning solutions that aim to reduce chemical footprints. Dirt2Tidy leverages eco-friendly cleaning alternatives that perform effectively without the need for harsh substances like ammonia. Their methods reflect a growing recognition of both the health and environmental implications of traditional cleaning chemicals. By prioritizing sustainability and health, Dirt2Tidy aligns with environmentally responsible consumers and contributes to the betterment of our planet’s ecosystem.
Safety Measures for Using Ammonia in Cleaning

Ammonia is a powerful cleaner commonly used for cutting through tough grime and grease. However, it’s essential to handle it with care due to its potential risks. Here are some safety measures to consider when using ammonia for cleaning:
1. Ventilation
When using ammonia, ensure adequate ventilation in the cleaning area. Open windows and doors to allow fresh air to circulate, reducing the concentration of fumes that can be harmful when inhaled.
2. Personal Protective Equipment (PPE)
Wear protective gear such as gloves, safety goggles, and a mask to prevent direct contact with ammonia and inhaling its fumes. PPE is crucial for safeguarding your skin, eyes, and respiratory system.
3. Dilution
It’s crucial to dilute ammonia with water according to the product instructions. Never mix it with bleach or products containing chlorine, as this can create a toxic gas. Always follow the recommended dilution ratios for safe and effective cleaning.
4. Storage
Store ammonia in a secure and well-ventilated area, away from direct sunlight and heat sources. Ensure the container is tightly sealed and kept out of reach of children and pets to prevent accidental exposure.
5. Disposal
Properly dispose of ammonia and any cleaning solutions containing ammonia. Follow local regulations for hazardous waste disposal to protect the environment and prevent harm to human health.


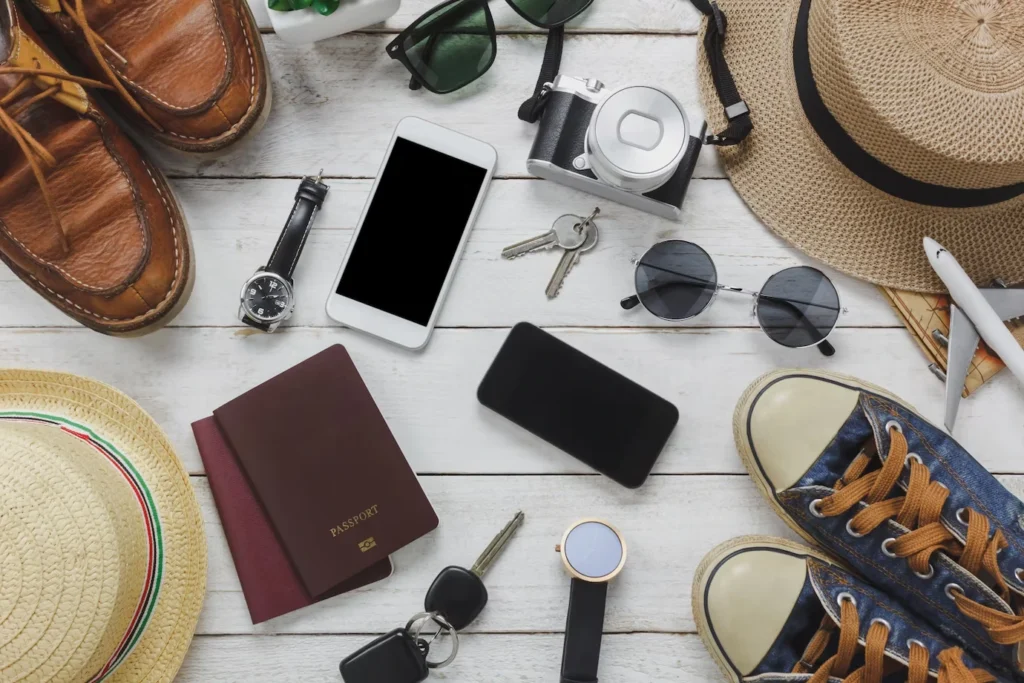
Are you tired of looking down at your outfit and feeling like it’s missing something? Do you wish to elevate your style and leave a lasting impression effortlessly? Look no further – this blog post is here to equip you with the ultimate guide to men’s accessories. Whether you’re a fashion enthusiast or just starting to venture into the world of style, this guide is packed with essential tips that will take your look from ordinary to extraordinary.
Get ready to unlock the secrets to mastering the art of accessorizing and discover why paying attention to the finishing touches can make all the difference.
Keep in mind when wearing accessories…
1. Keep it simple
From jewelry to hats, watches to bracelets, accessories can transform a simple outfit into a stylish ensemble. However, it’s important to remember that sometimes less is more. The key to rocking accessories is to keep it simple. While it can be tempting to wear multiple rings on every finger, a hat, a watch, and four bracelets on both hands, it’s important to exercise restraint. Overdoing it with accessories can detract from your overall style rather than enhance it.
So, how do you strike the right balance? First and foremost, consider the occasion and the outfit you’re wearing. A statement piece like a bold necklace or a chunky bracelet can be the perfect touch if you’re going for a casual look. On the other hand, if you’re dressing up for a formal event, go for more delicate and elegant pieces that complement your attire without overpowering it.
2. Stick to three main colors
Why is it crucial to stick to three main colors? Well, the more colors you introduce into your ensemble, the more complicated it becomes to maintain a harmonious look. Four or more colors can easily clash or create visual chaos, making it difficult for the eye to focus on any particular aspect of your outfit. On the other hand, embracing the simplicity of three main colors creates a sense of balance and unity in your ensemble.
How do you go about choosing your three main colors? The first step is to consider your personal style and the colors that resonate with you. Think about the shades that make you feel confident and express your personality. Are you drawn to bold, vibrant hues, or prefer a more understated and neutral palette? Once you know the colors that speak to you, it’s time to put them into action.
Remember the importance of accessories when incorporating your three main colors into your outfits. Accessories can either enhance or detract from your overall look, so it’s crucial to choose them wisely. If you’re wearing a statement piece of jewelry, such as a bold necklace or a pair of eye-catching earrings, consider using one of your main colors as a focal point. This will help tie your accessories into the rest of your outfit and create a cohesive look.
3. Fit the accessories with your clothes
Take a moment to look in the mirror and assess how well your accessories match your outfit. If something feels off or doesn’t look right, trust your instincts and make a switch. Remember, the goal is to enhance your overall look, not detract.
Regarding belts, the general rule is to match your belt’s color with your shoes’ color. For example, opt for a black belt if you’re wearing black shoes. This creates a cohesive look and adds a touch of sophistication to your outfit. However, if you’re feeling more adventurous, you can experiment with complementary colors. Just make sure that the colors don’t clash or overpower each other. Shop for the best quality socks for your shoes via strumpor i stora storlekar.
Ties are another accessory that requires careful consideration. A tie is a must if you’re wearing a suit or a formal outfit. However, there might be better choices than a tie if you’re going for a more casual look, like a T-shirt and jeans. Instead, you can opt for a stylish scarf or a statement necklace to add personality to your ensemble.
Wearing accessories daily can bring multiple benefits to your life.
Improved self-confidence
You can showcase your unique individuality and boost your confidence by choosing accessories that reflect your personal taste and style.
Accessories provide a creative outlet for self-expression. They allow you to experiment with different styles, mix and match colors, and create unique combinations that reflect your personality. Whether you prefer a more minimalist approach or love to go all out with bold and eclectic accessories, there are endless possibilities to unleash your creativity. Expressing yourself through your accessories can boost your self-confidence and feel more comfortable in your skin.
Your personality is understood better by people around you.
Accessories are a powerful tool for self-expression. They allow you to showcase your unique tastes, interests, and personality traits without saying a word. Whether you prefer bold statement pieces or delicate, understated ones, choosing accessories speaks volumes about your individuality. A person who wears vibrant and colorful accessories may be seen as outgoing and extroverted. At the same time, someone who opts for more minimalist and timeless pieces may be perceived as sophisticated and refined.
Further success in business
Wearing accessories that complement your outfit can boost your confidence. When you feel good about how you look, it shows in your demeanor and interactions. Confidence is an attractive quality in business, and it can help you make a memorable impression during meetings, presentations, and networking events. By wearing accessories that reflect your personal style and confidence, you exude a sense of self-assurance that attracts others.
In the world of business, networking is key to success. Wearing accessories that align with your personal brand can help you stand out in a sea of professionals and make you more memorable. When people remember you for your distinct style, they are more likely to reach out to you for future collaborations or refer you to others who may benefit from your expertise. Accessories can act as a visual cue, reinforcing your personal brand and making it easier for others to remember and recognize you.
Improved quality of life
Accessories are more than just stylish add-ons. They can uplift your mood, boost your self-esteem, and enhance your overall well-being. Whether it’s a statement necklace, a trendy watch, or a chic handbag, these small details can make a big difference in your day-to-day life.
But it doesn’t stop there. Accessories also have the power to spark joy and positivity in your life. They can serve as little reminders of happy memories, special occasions, or milestones achieved. Whether it’s a bracelet gifted by a loved one or a pair of earrings that make you feel empowered, these small tokens can bring a smile to your face and uplift your spirits.
Hearing compliments more often
You feel more put together and confident when you wear accessories that complement your outfit. This confidence radiates, and people around you tend to notice. You’ll often receive compliments about your impeccable style and attention to detail.
Additionally, wearing accessories can help you express your personality and individuality. Each accessory you choose reflects a part of who you are. For instance, a sleek and sophisticated watch might signify professionalism and punctuality, while a beaded bracelet showcases your free-spirited nature. By carefully selecting accessories that resonate with your personality, you can make a lasting impression on others and create a unique style statement.
Final Words!
In conclusion, this blog post’s men’s accessory guide offers valuable insights and tips to help you accessorize like a pro. By following the advice and recommendations shared, you can effortlessly enhance your style and leave a lasting impression.
Remember, paying attention to the finishing touches can make all the difference in taking your look from ordinary to extraordinary. So, embrace the art of accessorizing and confidently elevate your fashion game.

India National Cricket Team vs South Africa National Cricket Team Match Scorecard: A Detailed Analysis

8 Key Reasons To Choose Managed IT Services

The Irresistible Rise of Pizza Edition Games: A Delicious Journey through Gaming

Get your Canadian visa in a jiffy – Hong Kong citizens can now apply online!
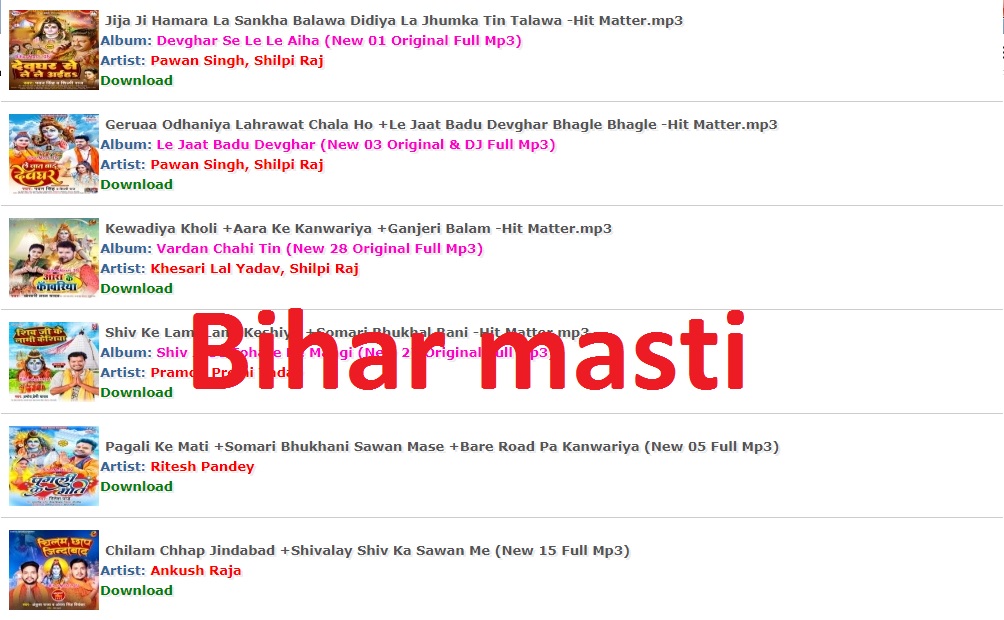
BiharMasti: The Place to Download Bhojpuri Movies and Music

What states have no chase law for motorcycles
-
 Business2 years ago
Get your Canadian visa in a jiffy – Hong Kong citizens can now apply online!
-
 Tips & Tricks2 years ago
BiharMasti: The Place to Download Bhojpuri Movies and Music
-
 Law2 years ago
What states have no chase law for motorcycles
-
 Technology2 years ago
How to do Jio Prepaid Recharge Online
-
 Business2 years ago
How do MEP Services help contractors?
-

 Business1 year ago
Everything You Need to Know About SQM Club
-

 Lifestyle2 years ago
What is a lifestyle party? Few tips for hosting a lifestyle party
-
 Technology2 years ago
How to Download Punjabi Movie Chhalla Mud Ke Nahi Aaya?